Monday, September 23, 2013

Simple image animation using javaScript


Creating animation seems kool and yes it is..☺
Its not a big deal. Follow steps shown below to learn how to do so..


1) Make a html file with file extension .htm or .html


2) In head tag, make a script block by using

script type="text/javascript"


3) In body tag-

a) add attribute of body tag- bgcolor="0000FF" onLoad="anime1()"
bgcolor will change background color of page to blue and onLoad event will call anime1 function (defined in script block) after loading of page.


b) Now, inside body tag, add an image using img tag and its attributes as


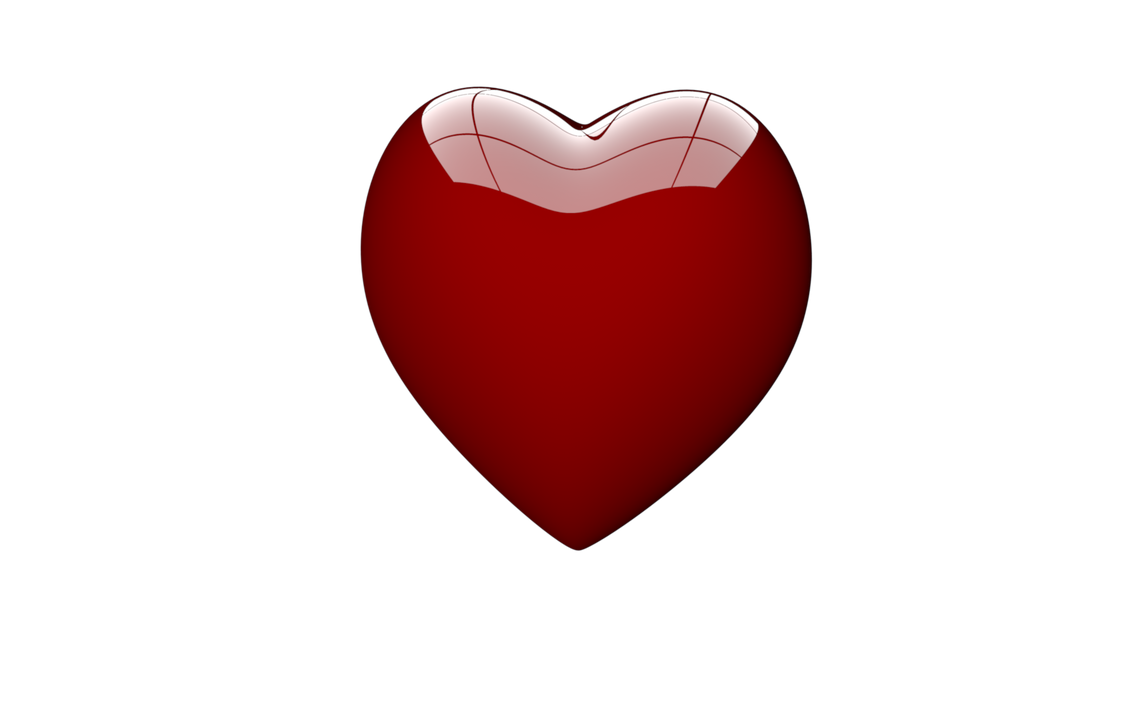
name="heart" src="http://www.archjrc.com/clipart/images/valentines/heart1.png" style="position: absolute; width: 100px; height: 100px; top:250px; left:600px;"


4) In script block-

a) Declare 4 variables using syntax var widthh=100,heightt=100,leftt=600,topp=250; these variables represent width, height, left margin and top margin of image to be displayed.

b) Make a function, name it anime1, this function is called by onLoad event

c) add following code in anime1 function-

if(widthh<=500)
{
widthh+=2;
heightt+=2;
leftt--;
topp--;
heart.style.width = widthh + "px";
heart.style.height = heightt + "px";
heart.style.left = leftt + "px";
heart.style.top = topp + "px";
setTimeout("anime1()",1);
}
else
{
anime2();
}

This code segment will increase width, height of image by 2 & decrements left,top margin by 1 so that image size gets twice and image keeps in middle of the page

heart.style.width = widthh + "px";
heart.style.height = heightt + "px";
heart.style.left = leftt + "px";
heart.style.top = topp + "px";
these 4 lines assigns dimensions of image to new values


setTimeout("anime1()",1); statement calls itself after every 1 millisecond.
this whole function shows image as swallowing


after completion(max size of image), else block is called and control transfers to anime2 block


d) make another similar function and name it anime2
add code-

if(widthh>=0)
{
widthh-=2;
heightt-=2;
leftt++;
topp++;
heart.style.width = widthh + "px";
heart.style.height = heightt + "px";
heart.style.left = leftt + "px";
heart.style.top = topp + "px";
setTimeout("anime2()",1);
}
else
{
anime1();
}

this code is exactly opposite of previous one, width,height decreases by 2 and top,left increases by 1 until width of image is not equal to zero


this will in last calls anime1 function.


5)Therefore, anime1 and anime2 functions calls each other and we get a swallowing-shrinking image..

Have fun O:)

Saturday, April 27, 2013

How to make 3D images

making anaglyph images in photoshop
  • You can look at anaglyph 3D images by following this link for an overview of how these types of images seems.

  • Anaglyph images should be looked by using glasses of 2 colors i.e. red & cyan otherwise, effect will not be displayed.

Steps -->
1.  Download any version of photoshop or any other image manipulation tool if you don't have any.
2.  Take 2 pictures of same object by slight horizontal distance (~1 inch) or download them from internet.
I have taken these 2 -
left.jpg
Left
right.jpg
Right


  3.  Open these images in image manipulation tool you are using. Paths shown below are of photoshop.
  4.  Make both images grayscale (Image -> Mode -> Grayscale)
  5.  A message box will open. Click on Discard button.
left(grayscale).jpg
Left(grayscale)

right(grayscale).jpg
Right(grayscale)


6.  Only for Left image (Image -> Mode -> RGB)
      Create a new layer above the left photo and fill it with cyan color. Its hex code is #00FFFF or equivalent RGB is R-000 G-255 B-255.
      Duplicate this layer and go to (Image -> Adjust -> Invert). Red color will be displayed with hex code #FF0000 and RGB as R-255 G-000 B-000.
7.  For Right image-
       (Select -> All)
       (Edit -> Copy)
8.  Open Left image-
       (Edit -> Paste)
       Place the pasted layer in the bottom. It will appear below previous 3 layers.
9.  Close Right image.
10.  Now, there are 4 layers in total. Position them as-
       Bottom one is Right photo.
       Above it is the red layer.
       Above it is the Left photo.
       Top one is cyan layer.
11.  To check the alignment of 2 photo pairs-
                Turn off red and cyan layers by clicking on eye icon.
                Adjust the opacity of Left photo to 50%.
                If both the photos are not on the same vertical plane, shift up/down appropriately.
12.  Change the opacity of Left photo back to 100%.
13.  Turn on cyan layer and change its blending mode to screen.
14.  Merge the cyan and Left photo layers together.
Image will look like this-
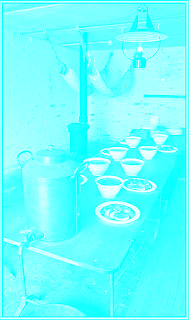
Cyan tinted image
15.  Turn off this new cyan layer(Click on eye icon).
16.  Turn on red layer and change its blending mode to screen(similar to cyan layer in step 13).
Image will look like this-
Red tinted image
17.  Turn on all cyan/Left layer and change its blending mode to multiply.
  • Put on glasses (red on left & cyan on right) and you should now see the anaglyph.
It will look like this-
3Dimage.jpg
Anaglyph 3D


~TIPS~

  • At the end, merge all the layers by Flatten Image.
  • Save file as JPEG image with the image quality according to your choice.
  • There is no need to save as photoshop document file(.psd).

You can skip the Desaturation part shown above in steps 4 & 5.
Doing so will create a colored image as a result in last step i.e. step 17.
It will look as-
ColoredAnaglyph.jpg
Colored Anaglyph


  • Colored anaglyph is not much clear as in this image, cyan & red colors of effect gets mixed with original colors of image. So, to view nice 3D effects, convert image to grayscale.


Tuesday, April 23, 2013

Hanoi game

Hello,
This is all about Hanoi game..
Hanoi
Preview of game window

In this, there are 3 towers and 3-8 discs of different colors.
Levels of game are from 1 to 6, each having specific number of discs.
You have to move every disc from tower 1 to tower 3 in minimum steps you can.
No disc can be placed on top of disc smaller than that.
Time is running, hurry up.. On passing each level you will get a prompt message. In last, a different message congratulating you.
No. of steps are shown on right side and minimum number of steps on each level, which depends on no. of discs.
You can use Previous & Next buttons to up or down the level.
For navigation, use arrow keys or w/a/s/d & W/A/S/D to move disc. You can also use buttons on top right hand side corner for playing..
Here is download link of the game's executable - Hanoi.exe
And you can see source code or can change all the resources of game. Follow this link to download source.
Enjoy :)